Written in 2024. This chapter describes the years when the cabin was a vacation rental. It is not a rental now; what is happening is on Selling Sullishak.
“The cabin has a patina of age that gives it character.” — Wes Sullivan
This chapter covers the modernization of Sullishak under Dave and Barb Sullivan’s stewardship which began with Wes Sullivan’s death in 2008. This ultimately led to improvements that converted it into a vacation rental while still allowing friends and family to use the cabin.
Replacing the Electrical Service in 2008
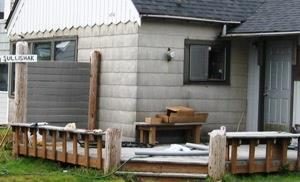
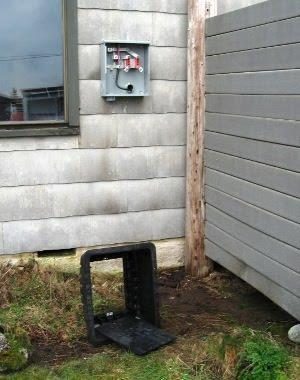
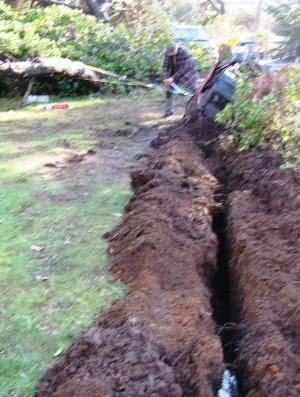
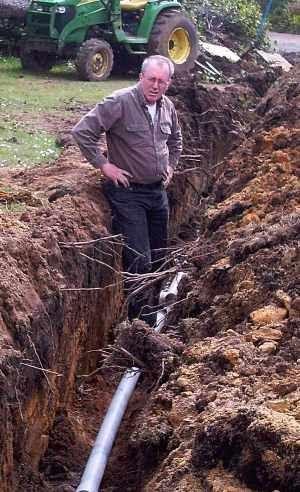
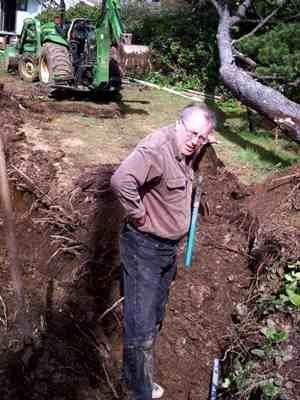
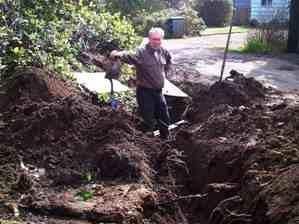
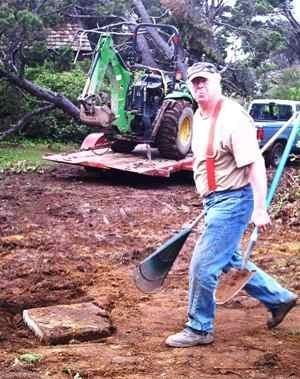
Ocean-spray salt corroded the 1940-vintage meter base enough to cause lights to flicker inside the cabin ... so we decided to install a new underground electric service. A new power drop is a major project requiring heavy machinery and three work parties. The following photos show what we did.
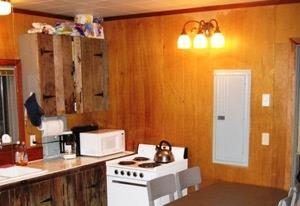
Left: You can see the old electric meter on the kitchen wall.Right: The new meter base went on the front wall hidden behind the porch's wind screen. Also visible on the sidewalk is the new service connection box. It was dug into the front lawn so that only about 2-inches appears above the lawn.
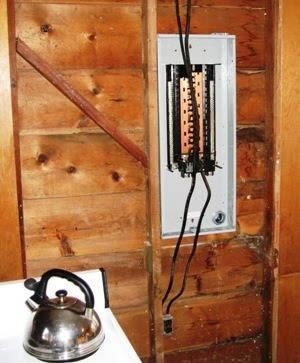
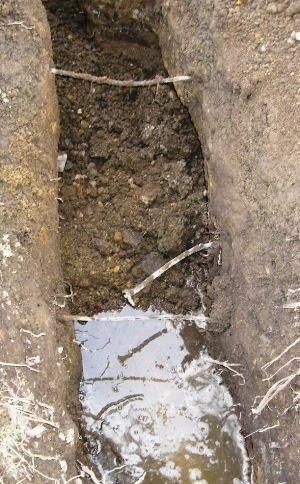
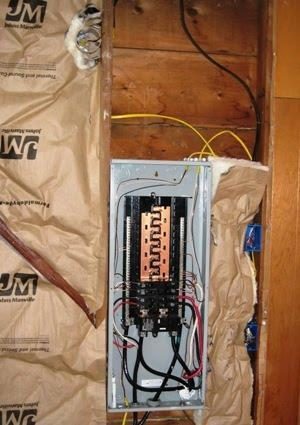
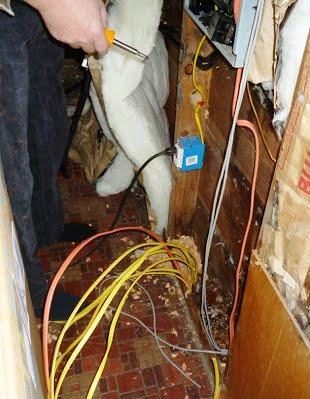
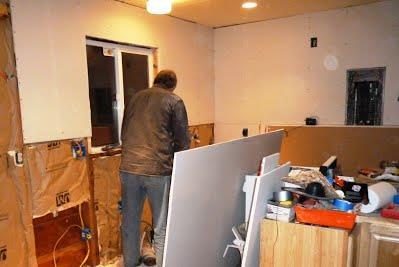
We put the new breaker panel on the living room wall. This portion of the beach cabin didn't have any insulation which explains why the cabin was so cold in the winter.We called and had underground utilities marked before we started digging. This meant a lot of hand digging because we weren't supposed to use anything but a shovel within two feet of existing lines. We found several water lines on the other side of the street near the telephone pole, two telephone lines in the middle of the street, and a Northwest Natural Gas line on our side of the street. This photo shows a TV cable line that is cut in half -- we got a little aggressive with a shovel while digging through the hard pan. Fortunately, when the cable company came to investigate and said this cable was no longer in use.
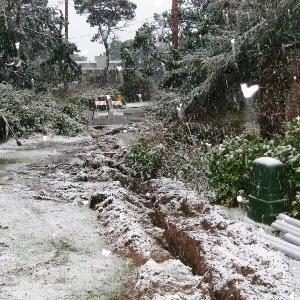
Left: This photo shows the Ditch Witch fell into its own trench ... and it didn’t come out easily. We had to buy a Come-Along and winch it upright again by lashing onto a nearby tree.Right: On March 28th, we awoke to find snow!
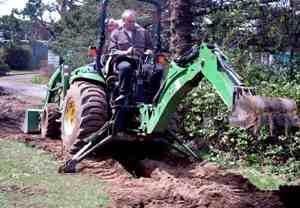
Almost done across the street. The 3-inch and 1-inch pipes have been buried, and I've installed the service box where the electrical connections will be made across the street. Only a little more spreading of gravel remains.I operated the backhoe to dig a 3-foot trench all the way to the road.For a while, Barb Sullivan sat in the driver's seat and drove the backhoe forward ... while I operated the bucket from the rear seat. This definitely sped up the operation.
Left: A slight mistake with the backhoe snapped the sewer line. So we went to Ace Hardware in Lincoln City to buy replacement line and a couple of rubber couplings. Here, Dave Helton is cutting the sewer line with a hand saw.Right: Dave Sullivan stands on top of the 3-inch electrical conduit. The main purpose of this shot is to prove the pipe was buried the full 3-feet deep as required by the National Electrical Code.
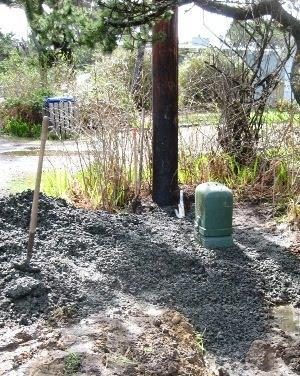
Two reference pictures. These photos are likely to be useful if a cabin is built on the empty lot. The shovel marks the end of the second 3-inch electrical conduit that crosses the street and heads straight into the vacant lot. Several feet earlier, the first 3-inch electrical conduit turns north and heads toward the existing cabin. You can also see the two white 1-inch conduits for cable and phone lines. The 1-inch conduits are 1-foot less deep ... and they stop a couple of feet short of where the 3-inch conduit stops. We ran these currently unused lines several feet further toward the interior of the vacant lot so it would be easy to find and attach onto them without disturbing the lines going to the cabin.
Despite the resulting mess, we did try to clean up. You can see Dave Helton here showing his tongue to Barbara and the camera.The main service panel is now on the front wall. About half the wiring has been done in this image. I added insulation to this wall as well.All done! Everything is back together (except that I haven't mounted the spice rack over the stove.) Notice the new light on the front wall.
Underfloor Insulation in 2008
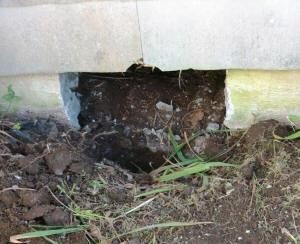
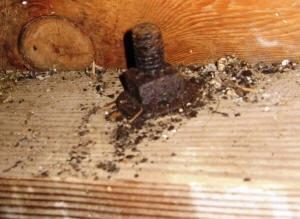
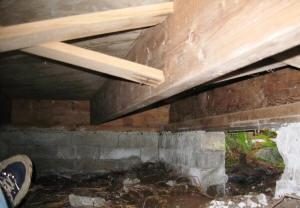
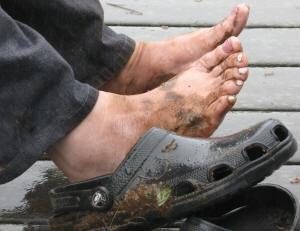
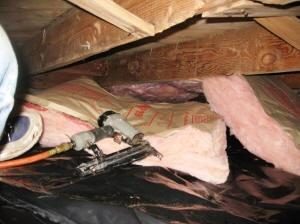
For years it has been almost impossible to get under the front half of the cabin. The access hole is under the kitchen sink, so you needed to snake your body around the kitchen drain pipes to get under the cabin. Then we built the deck, and that access hole became nearly impossible to use. To improve this situation, Dave Sullivan removed 26-inches of foundation from the north side of the cabin. Now it is far easier to get in.Most people won't find this photo as exciting as I felt when I took it. I was hoping Dad had put bolts into the foundation to tie the cabin to the concrete -- and here they were. He put them on 6-foot spacing along the front wall, and right at the corners of the side wall.There isn't a lot of room to maneuver under the cabin, but it can be done. I was able to fish insulation in and pack it between the floor joists. This made the cabin warmer in the winter. Also, if you look very carefully, you can see another tie-down bolt in a pocket that Dad cut into the rim joist along the front wall.Barb helped install insulation. She cut the fiberglass batts to length and stuffed them under the cabin. Then Dave Sullivan used a nail gun and wood lath to hold the insulation in place. Although it was dry on Saturday, it rained on Sunday, and Dave stayed dry under the cabin while Barb got all wet while helping outside.We needed more crawl space under the cabin, and that involved digging with the fireplace shovel (because it was small and worked well in tight places) and loading up a wooden sled. Then Barb pulled out the sled to dump it. Since this was hard, dirty work ... it left Barb's feet rather muddy.Installing fiberglass insulation. You can see Dave’s leg on the left and the nail gun.
Sullishak Expansion in 2012
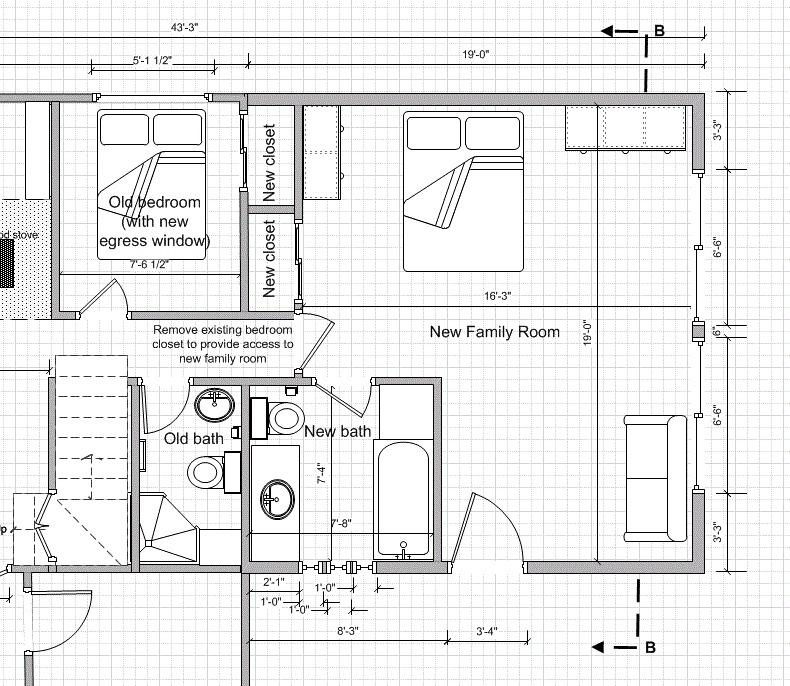
In 2012 we thoroughly remodeled the kitchen, added dormers upstairs, and began prepping the foundation for a new family room and bathroom behind the existing cabin. This picture shows the new family room and bathroom plans.
Thus, the new addition was 19 by 20 feet. Most of the area was devoted to a large master bedroom, and smaller areas became a new bathroom and closets.
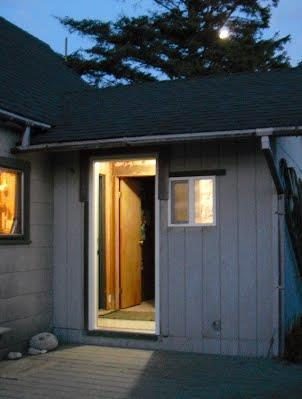
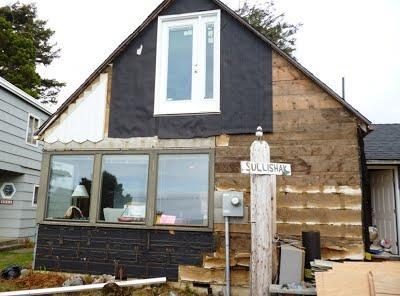
We began work on the front porch: It received a new fiberglass front door and a small vinyl window.
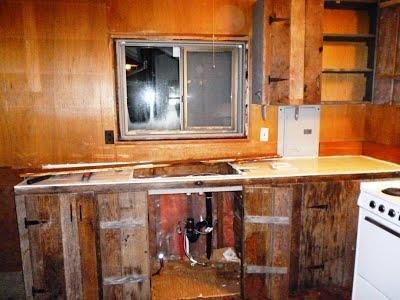
In January 2012 we removed the existing cabinets and paneling. We recycled the driftwood as trim pieces around the windows and ceiling.
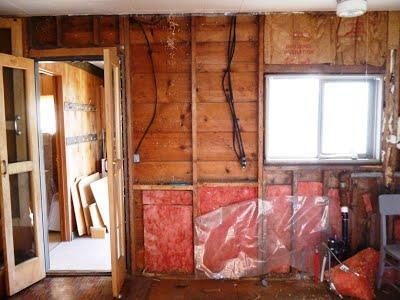
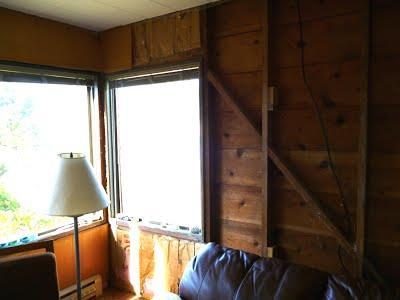
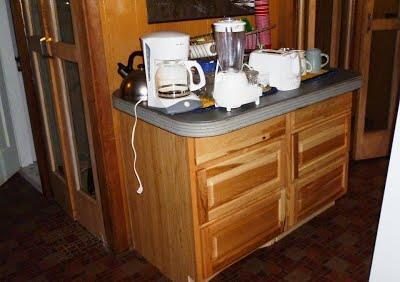
Left: We also removed the paneling around most of the living room.Right: We temporarily set cooking gear on some of the new cabinets.
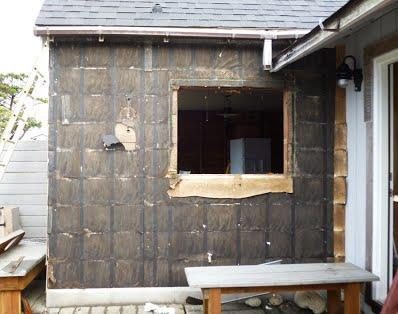
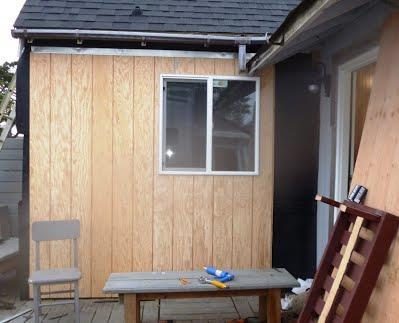
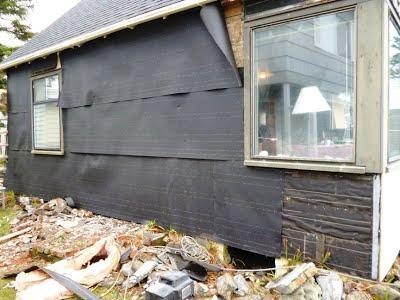
Left: We carefully removed the asbestos siding and transported it to an approved landfill. Out came the old kitchen window.Right: We put up T1-11 siding and installed a new kitchen window.
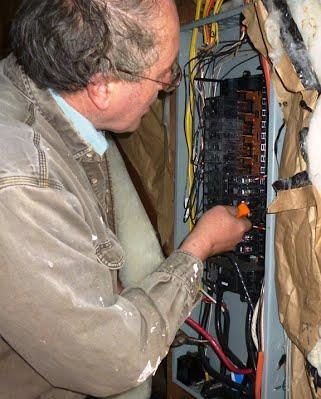
Left: Dave Sullivan added lots of new circuits to the electrical panel.Right: About half the circuits went down: mostly for the kitchen and living room. The other half went up: mostly for the dormer and new family room.
Left: Dave Helton steadies the new second-story door as it gets raised with a block and tackle.Right: The door looked silly at first: it lead to a 12-foot drop-off.
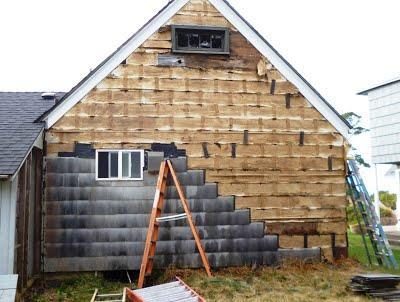
Left: We carefully removed the asbestos shingles and prepared them for transporting to the Hillsboro dump that accepts this sort of waste (for a huge fee).Right: The brick side porch was no longer useful, so it got broken up and removed.
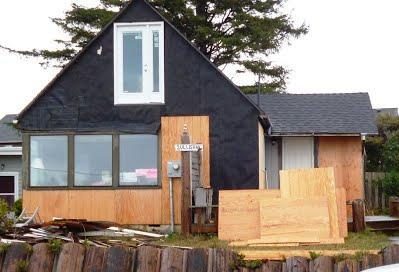
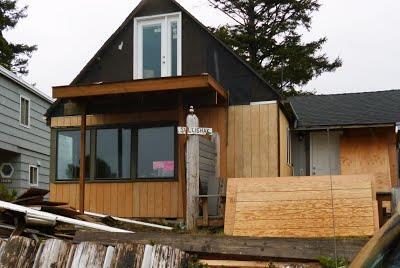
Left: New siding went up in front.Right: A deck was suspended temporarily on 4-by-4s.
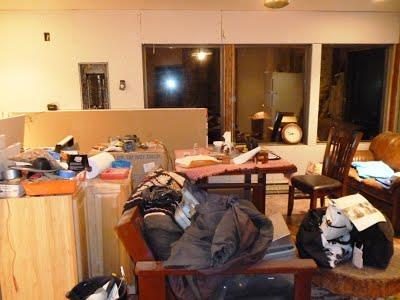
Left: The living room was a crowded mess as we put up sheetrock.Right: The new kitchen gets sheetrock.
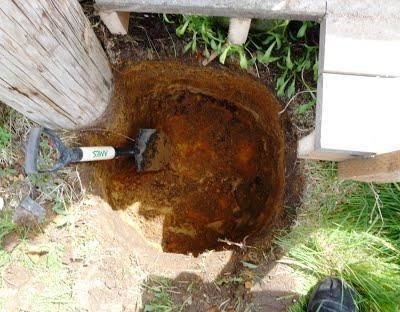
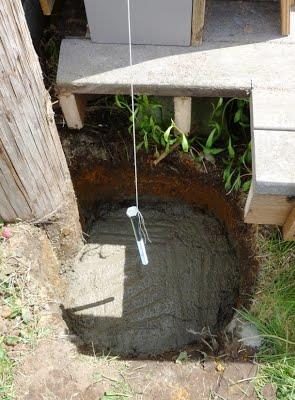
Left: To support the new deck, we dug footings.Right: Although it wasn't structurally necessary, we poured concrete in the bottom of the footings.
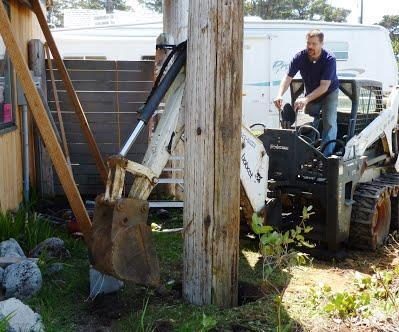
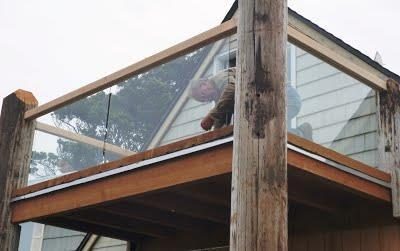
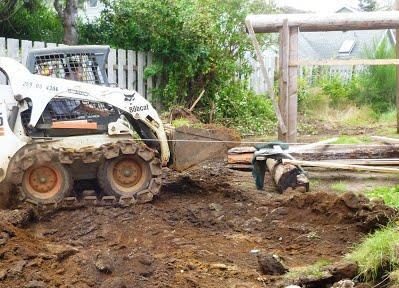
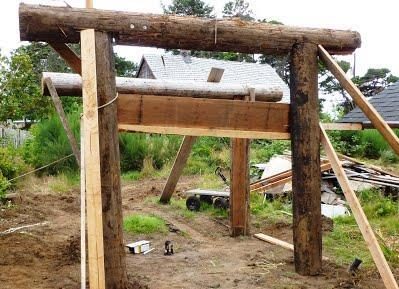
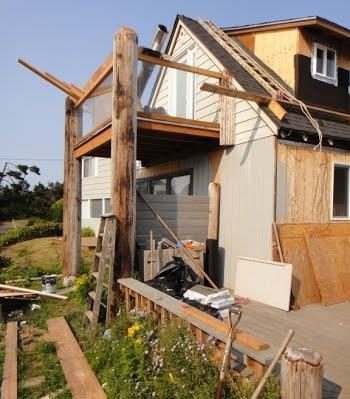
Left: Chris Reiter used his Bobcat to lift the large telephone poles in place to support the new deck.Right: The poles are in place, but the new deck still needs railings.
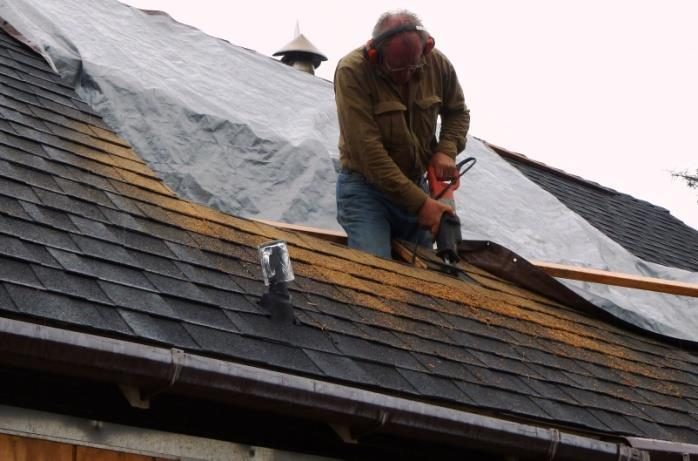
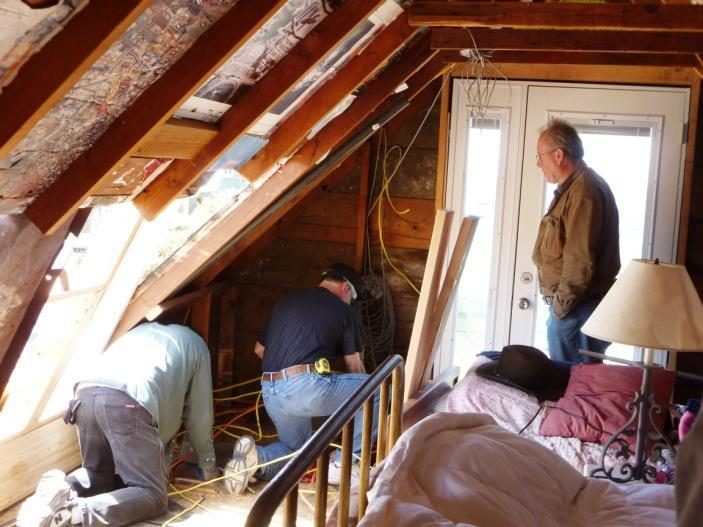
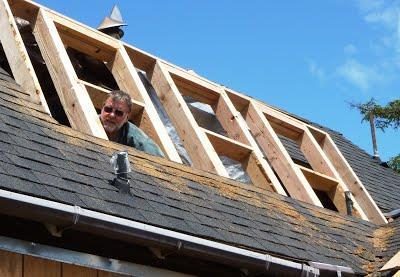
Left: Dave Sullivan used a Sawzall to cut into the roof to create new upstairs dormers.Right: Bob Woodworth and Pat Propst worked on hands-and-knees as we prepared to remove more of the old roof.
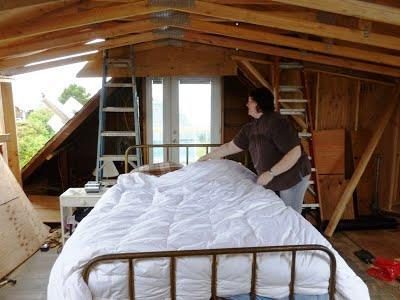
Left: Bob Woodworth raised a wall for the new dormer.Right: The new scissor trusses have been installed, so Barb Sullivan made a bed in the unfinished upstairs.
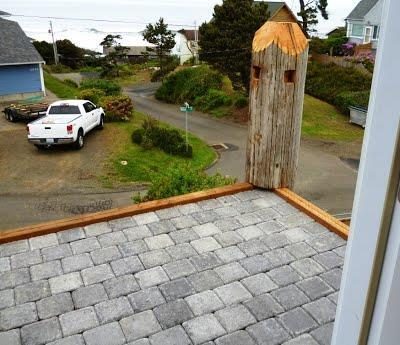
Left: The new deck got a layer of pavers.Right: Cedar railings were installed along with plate glass.
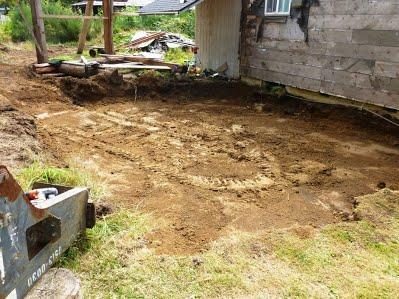
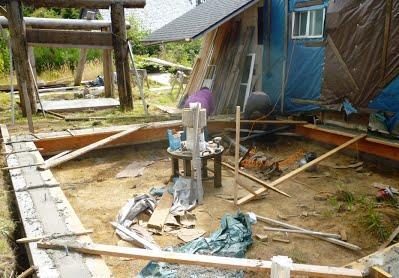
Left: Chris Reiter began digging a hole for the foundation of the new family room.Right: The hole is almost complete.
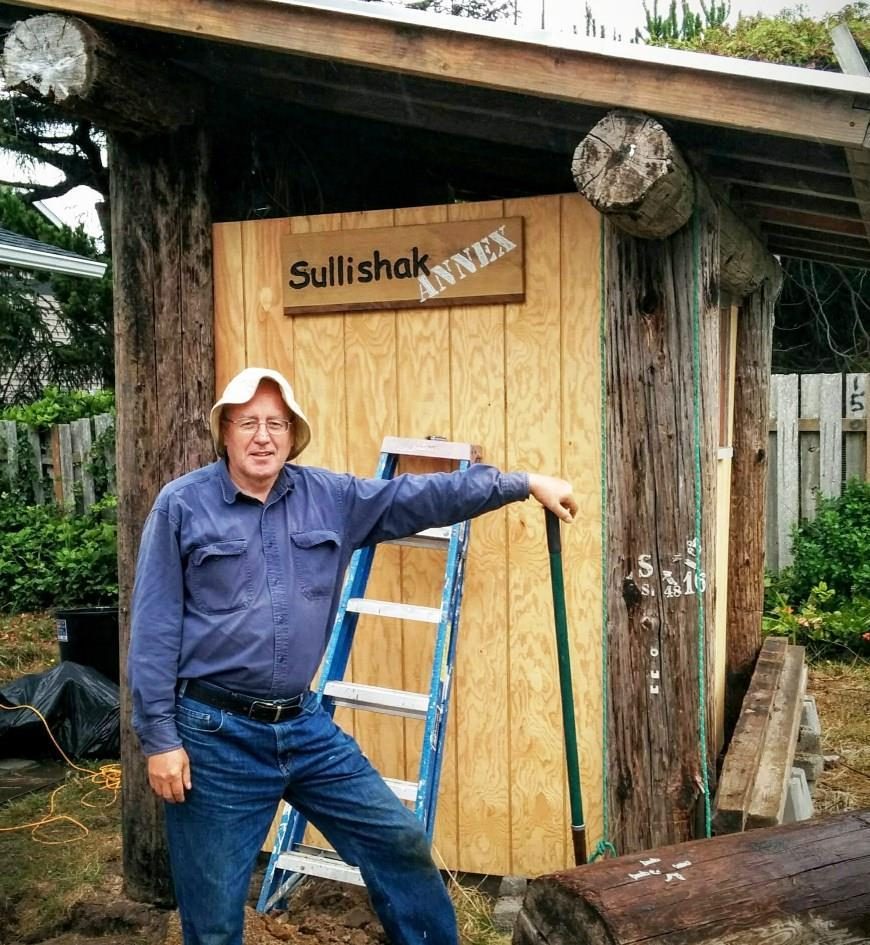
This structure eventually turned into the “Sullishak Annex”; that is, the cabin's tool shed. Initially, many people were scratching their head wondering what the strange collection of used telephone poles was supposed to be.A puppet finger for a finger that was given an untimely trim job by Chris Reiter's Bobcat.
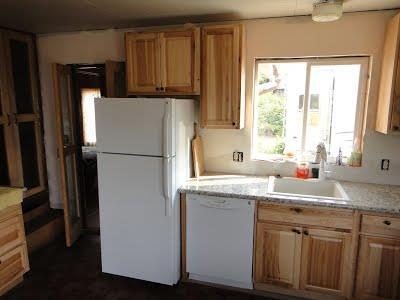
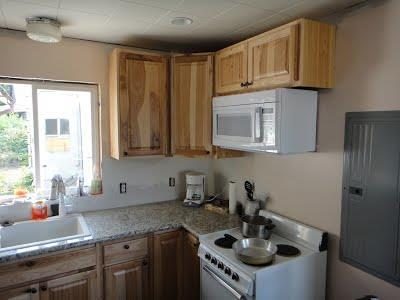
Left: Granite countertops, cabinets, and appliances were all installed.Right: A new microwave was hung under the old stove, and recessed lights were installed in the ceiling.
Left: Barb Sullivan came up with the breakfast bar idea ... it is what allows the cabin to have a full-function kitchen.Right: The bookshelf just went back up: It will never be this empty again
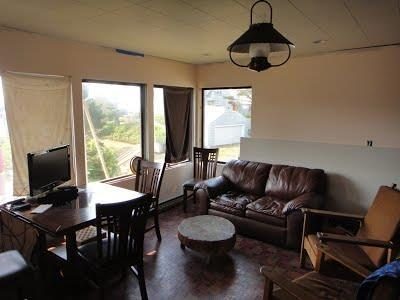
Left: The living room became more usable once the drywall hid the insulation and wiring.Right: Dormers were added on both North and South sides.
Left: North wall upstairs has been pushed out and roof lifted.Right: View of North wall from stairs.
Sullishak Expansion in 2013
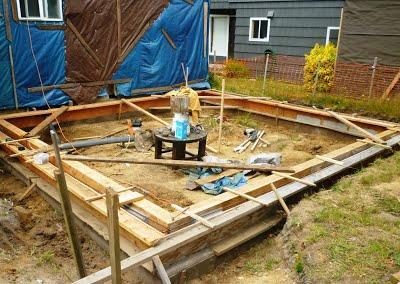
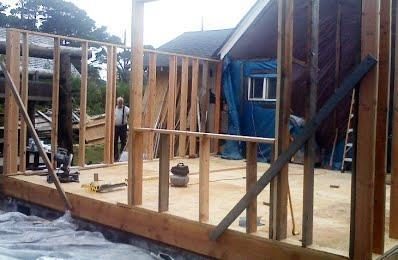
In 2013 we began building the new family room and bathroom behind the existing cabin.
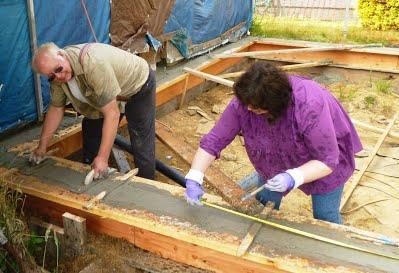
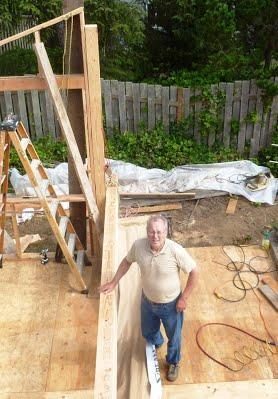
Left: Work began with building concrete forms from scrap lumber.Right: Dave Helton trowels the concrete while Barb Sullivan measures locations for bolts.
Left: This photo shows the entire new room along with the beginnings of the “Sullishak Annex” in the background.Right: Walls begin to go up.
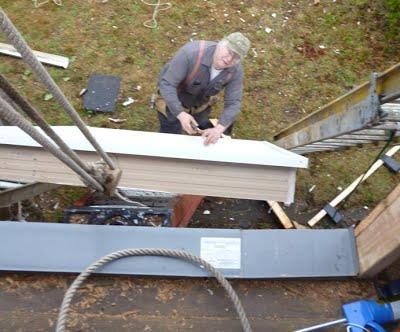
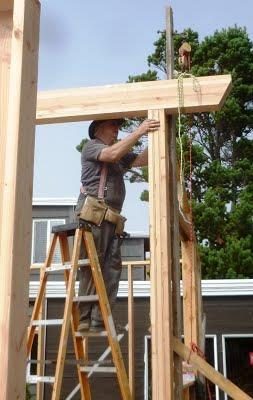
Left: Dave Sullivan looks up at Barb Sullivan who will operate the come-along to raise half of the ridge beam.Right: Dave Helton secures the ridge beam in place.
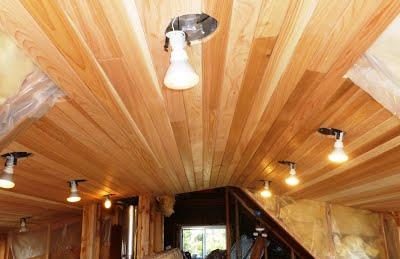
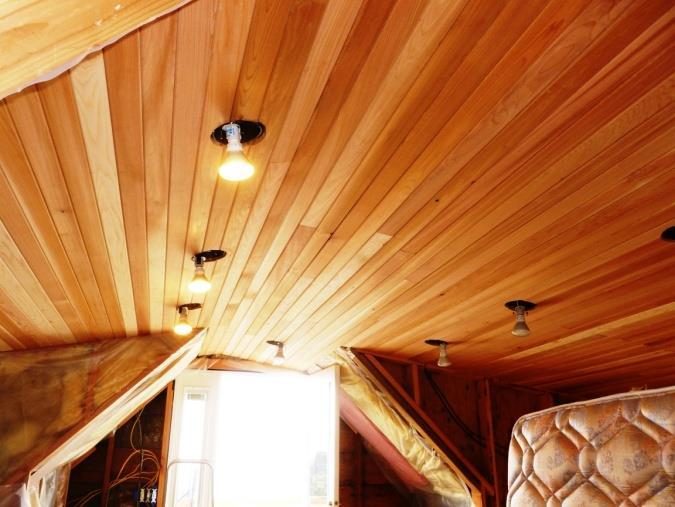
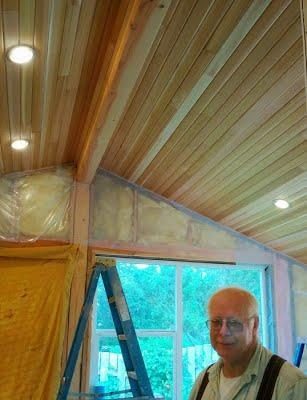
Left and right: The second floor dormers get a new cedar ceiling.
Sullishak Expansion in 2014
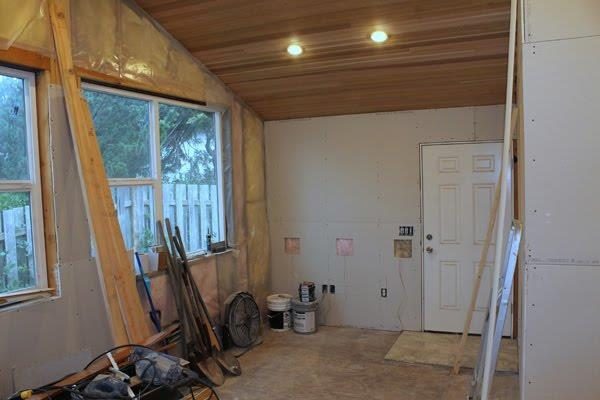
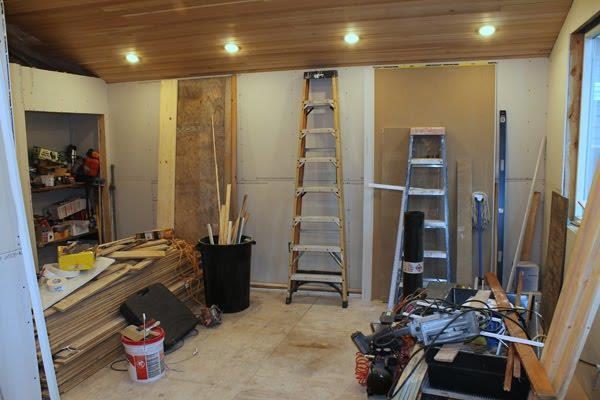
We began 2014 determined to finally finish the beach cabin's expansion plans, and by the end of the year, we’d come close – but we did not complete the remodeling.
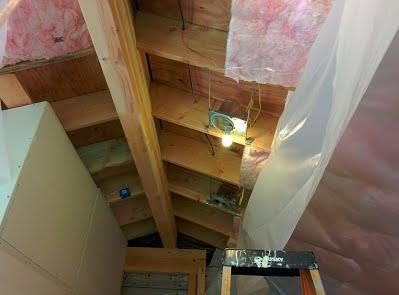
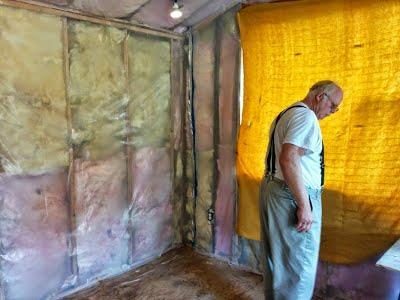
Left: We added lights and insulation to the new family room.Right: As usual, David Helton helped with all the work. Here we have all the insulation up, and a blanket is being used as a window dressing.
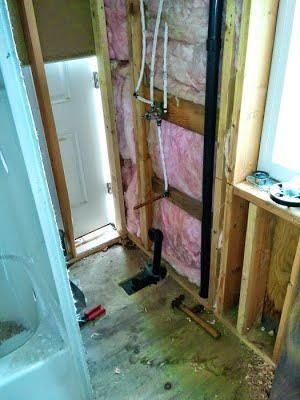
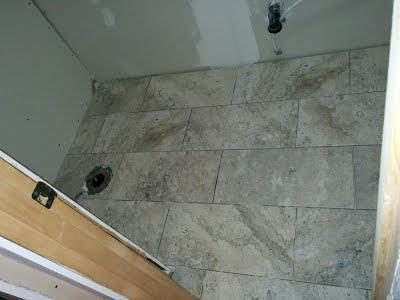
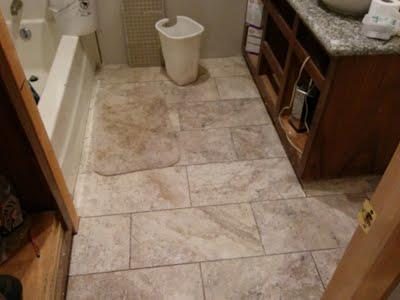
Lots of plumbing was needed to complete the new bathrooms, and the Lincoln County inspector was a real stickler about trivial details. Eventually, we got everything in the new bathrooms installed and approved.We liked the cedar ceiling upstairs so much that we decided to install one in the new family room downstairs as well. The cedar was expensive, but it was worth it.The new upstairs bathroom received updated plumbing and a tile floor.
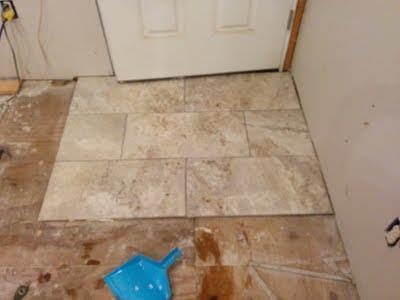
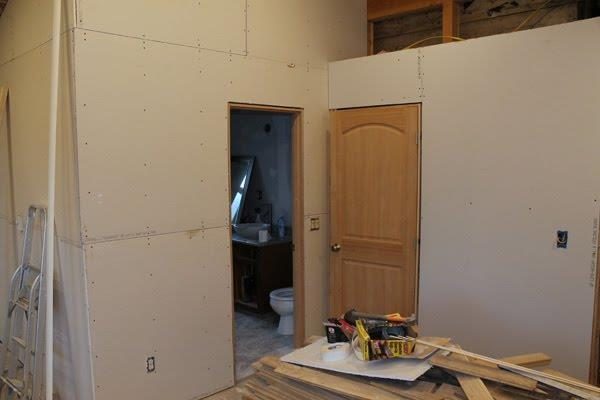
Left: We added drywall and a tile entryway to the new family room.Right: The new downstairs bathroom got custom-built cabinets along with a tile floor.
Steve Sullivan took the following photos after visiting the cabin on just before Christmas in 2014.
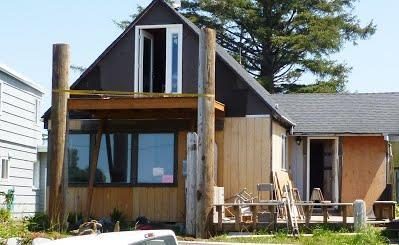
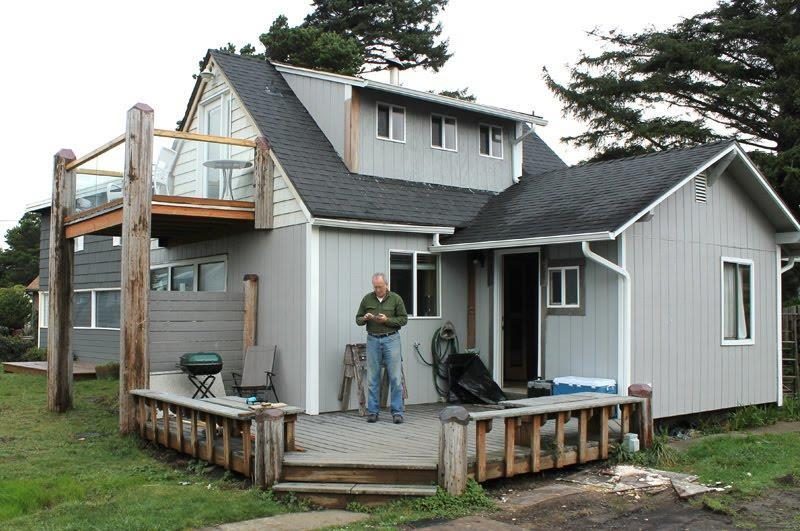
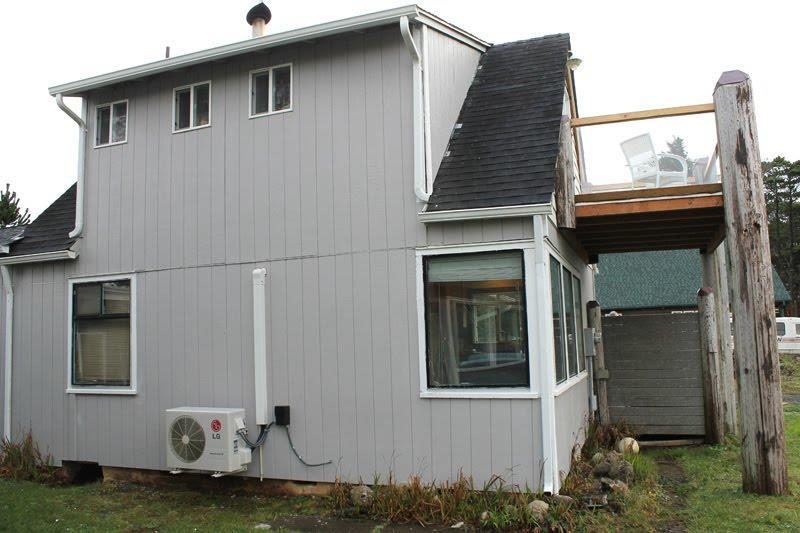
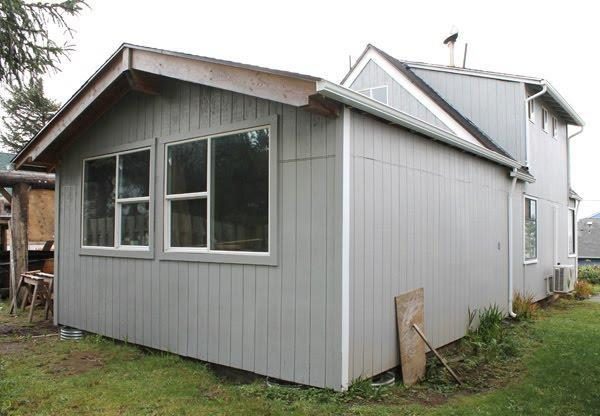
At the left is the new balcony for the second floor, and the second floor dormers have greatly expand the upstairs. Most of the exterior has been replaced and recently painted. Less obvious are the new gutters, a new porch light and new front door.This is north side of the cabin. The new balcony is at the right. The north door and porch that were never used are gone. Note the outside unit of a heat pump which provides efficient heat for the living room.
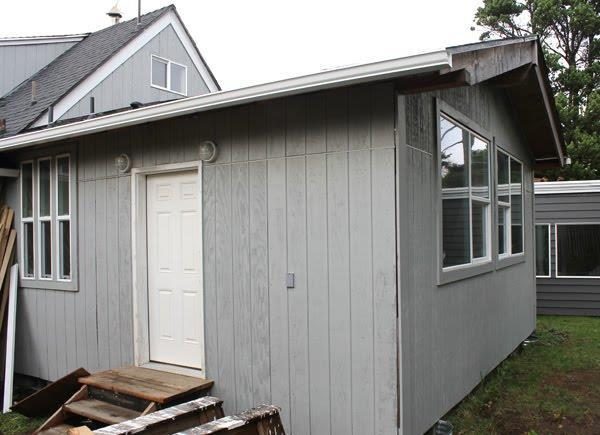
Two views of the back of the cabin with the new family room.
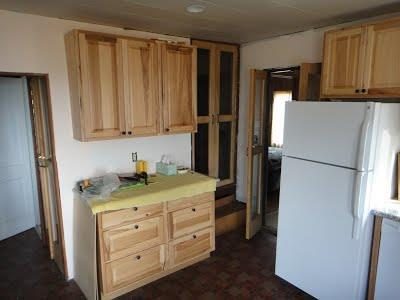
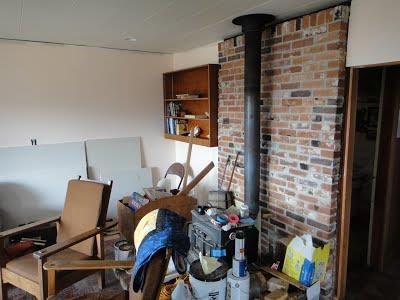
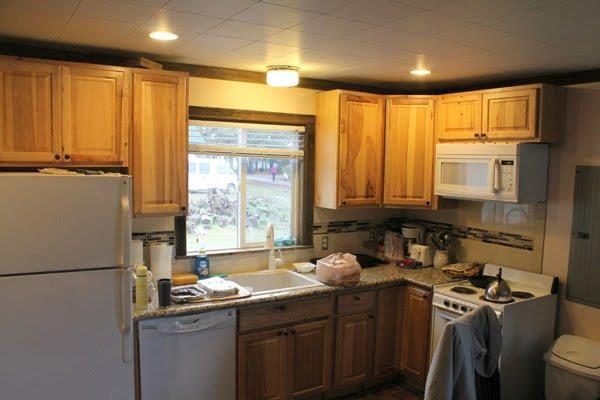
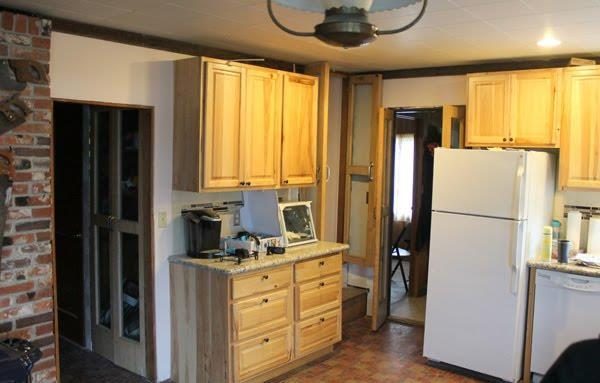
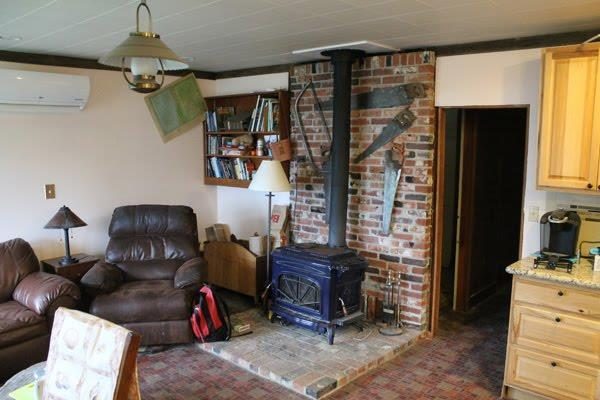
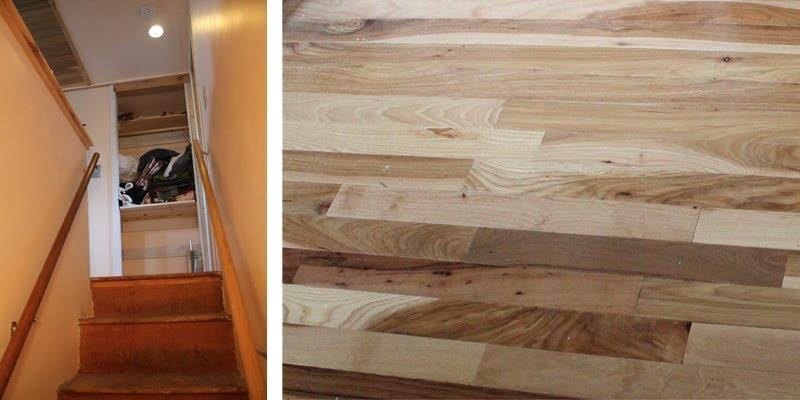
The kitchen area of the original cabin now has a dishwasher and disposal. Also note the microwave above the stove. The counter, sink and cupboards have been replaced and decorative tile has been placed on the wall. Additional lighting makes the kitchen brighter.The dishwasher and larger refrigerator eliminated shelf and drawer space. To accommodate this, a breakfast bar with more shelves and drawers were added.In the upper left corner you can see the inside portion of the heat pump. David Helton installed a larger wood stove making it possible to burn larger pieces of wood.Left: This view leads up the stairs to the second floor, and the walls have been finished. Right: Upstairs there is a hardwood floor.
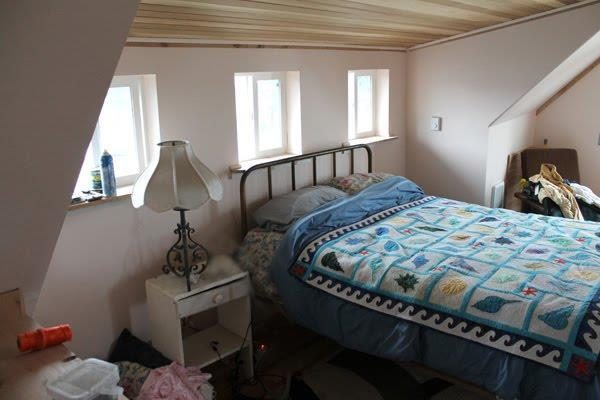
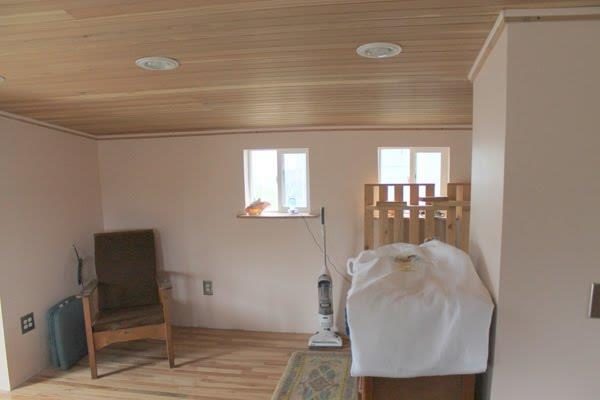
Left: The new dormers provide enough headroom to walk from the south to north wall.Right: The plan for the north side of the upstairs includes a desk. The wood ceiling is visible in this photo.
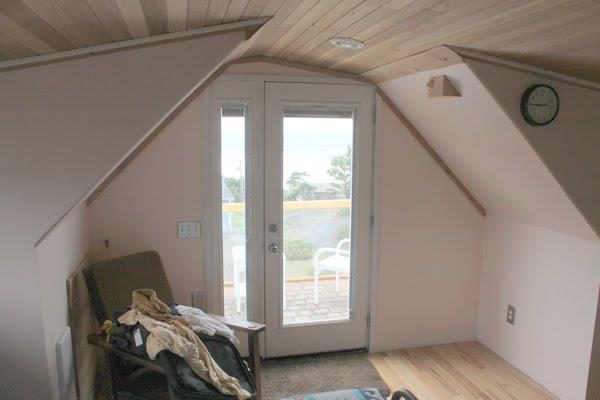
A door opens to the balcony where you can sit and watch the ocean.
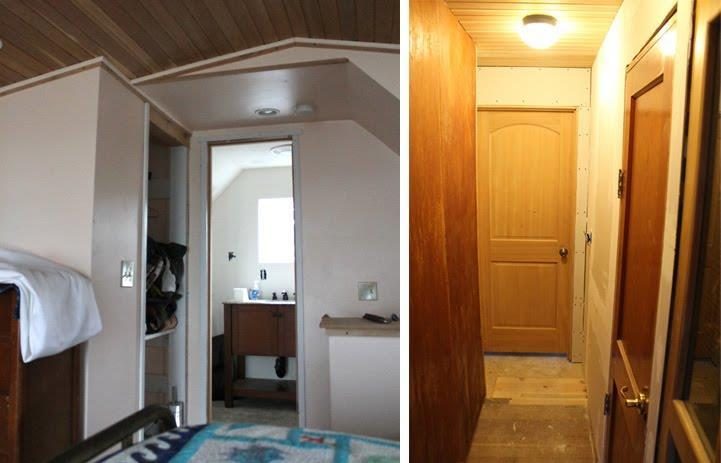
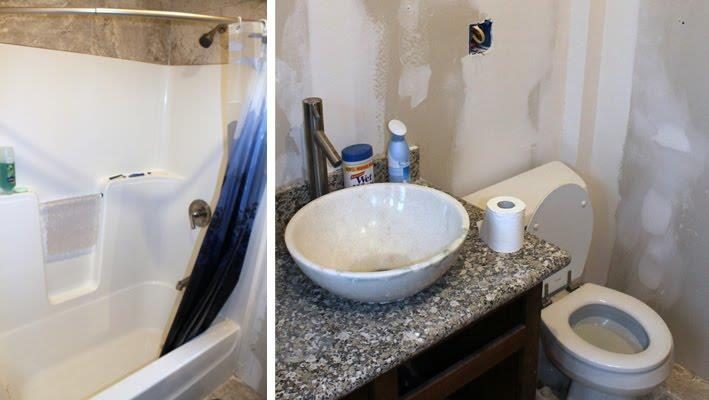
Left: A bathroom is at the east end upstairs. Right: The first-floor hallway leads to new family room.Here we are in the new family room looking back at the door to the main cabin. On the left is a new bathroom with tile floor.The new bathroom includes a shower/tub, sink, toilet and decorative windows (not shown).
Left: A flat screen TV is planned for the south wall and you can see cutouts in the wall for a portion of the sound system.Right: On the left side of the room is a pile of oak lumber that will soon become a hardwood floor.
Sullishak Expansion in 2015
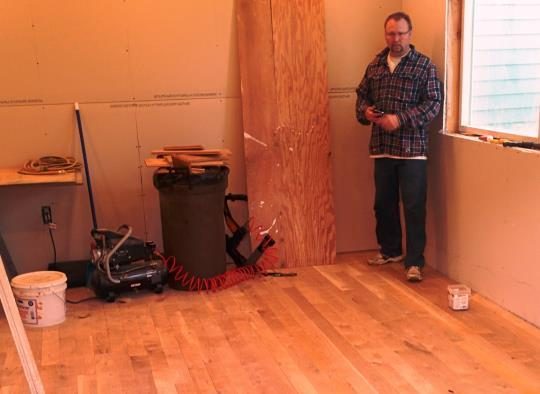
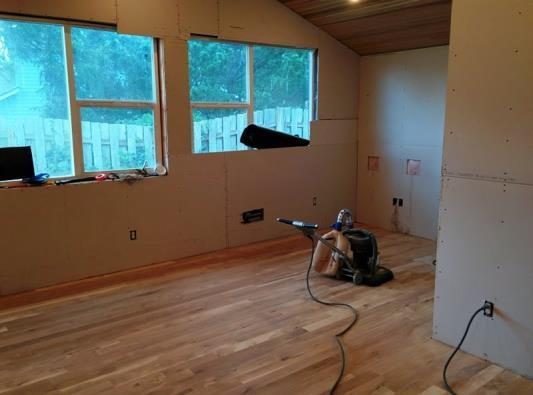
Left: Buddy McClure laid most of the oak flooring in the new family room.Right: Lots of heavy equipment was used to get the hardwood flooring flat and smooth.
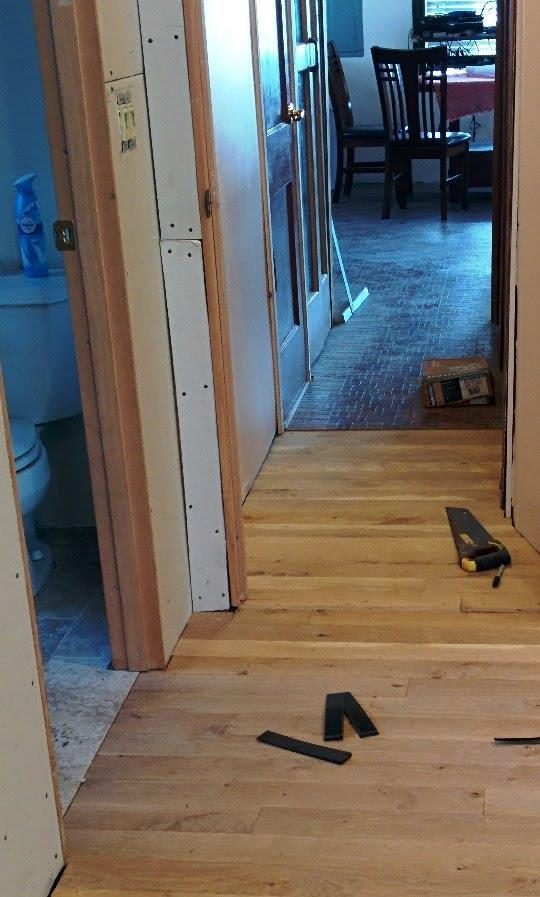
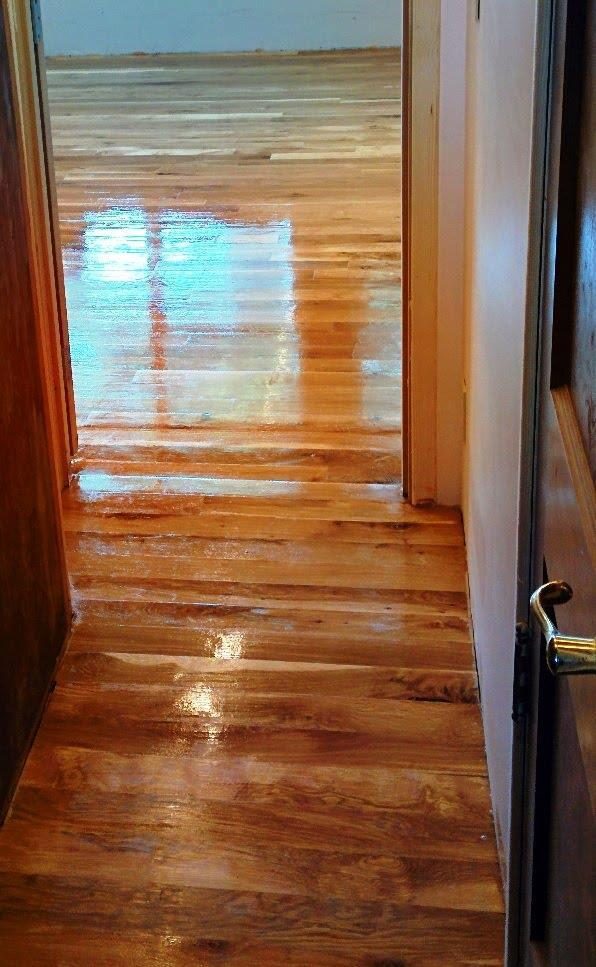
Left: The transition from the family room to the original cabin came out better than we expected. Because we built the new family room about 1-1/2 inches too low, you have to walk uphill to get into the new cabin.Right: Finally, we applied three coats of finish which made the floors look warmer.
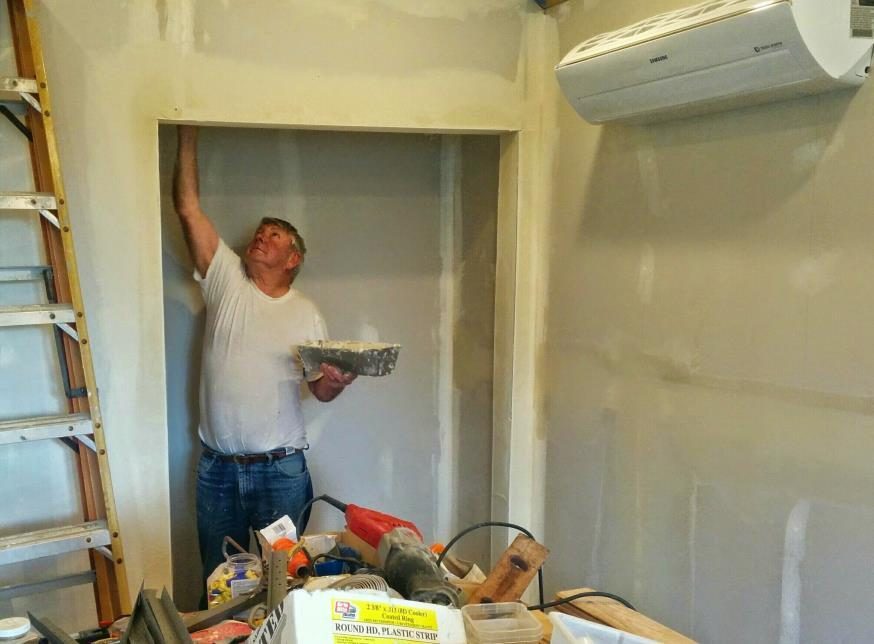
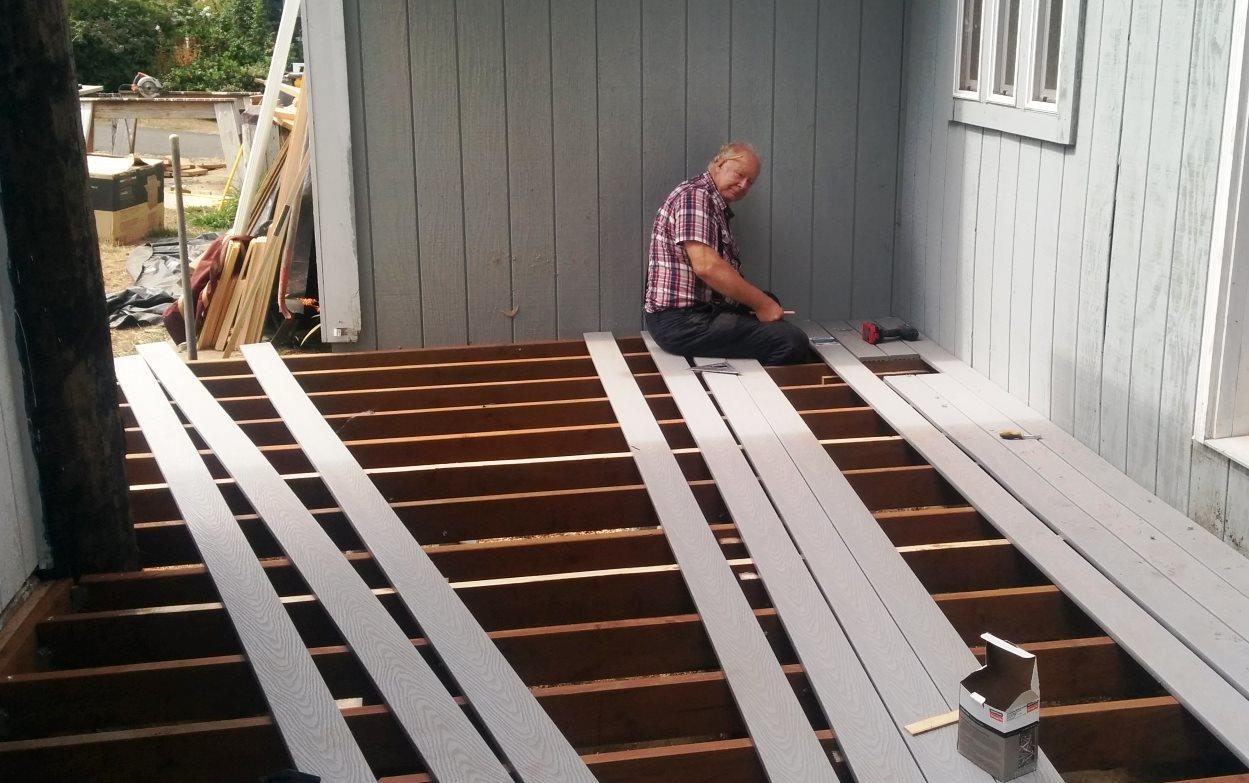
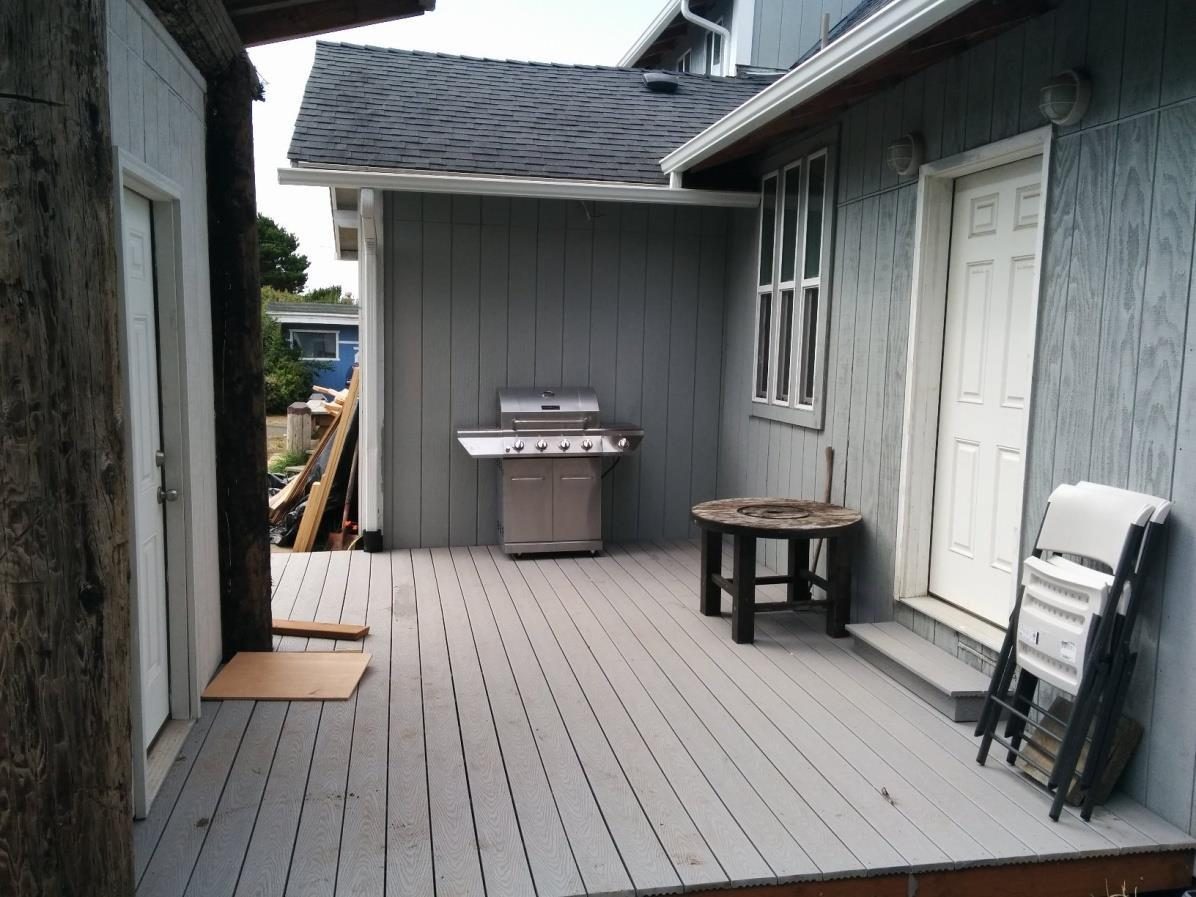
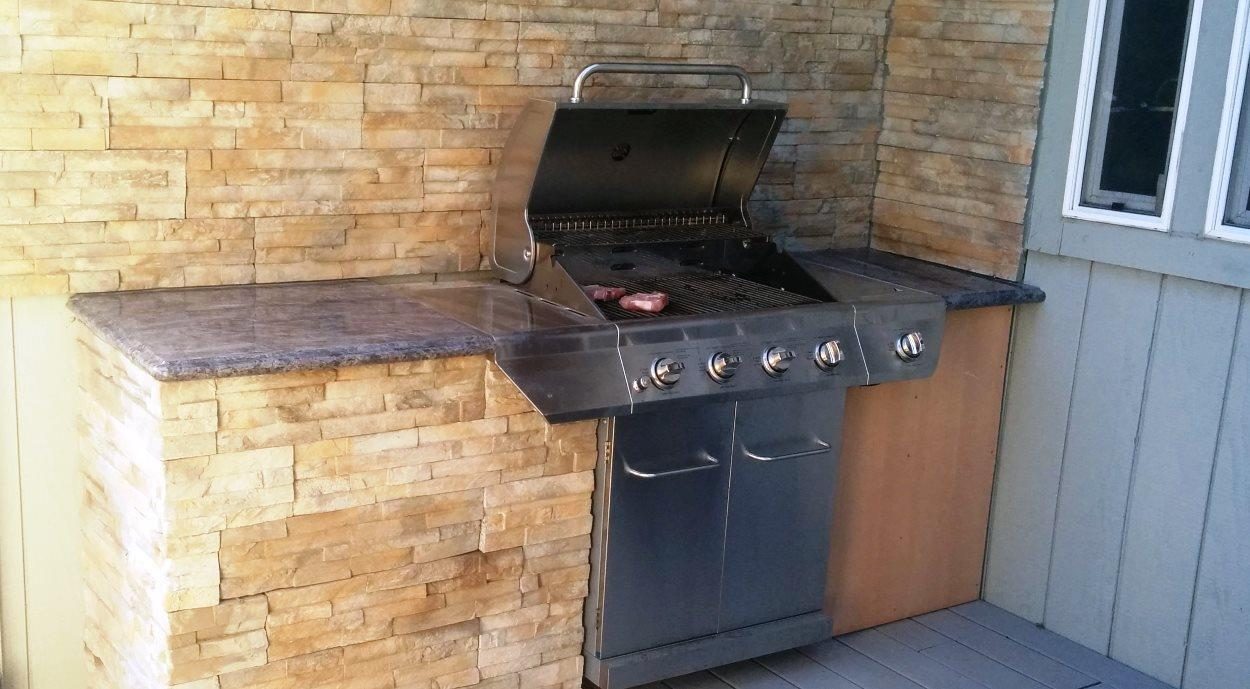
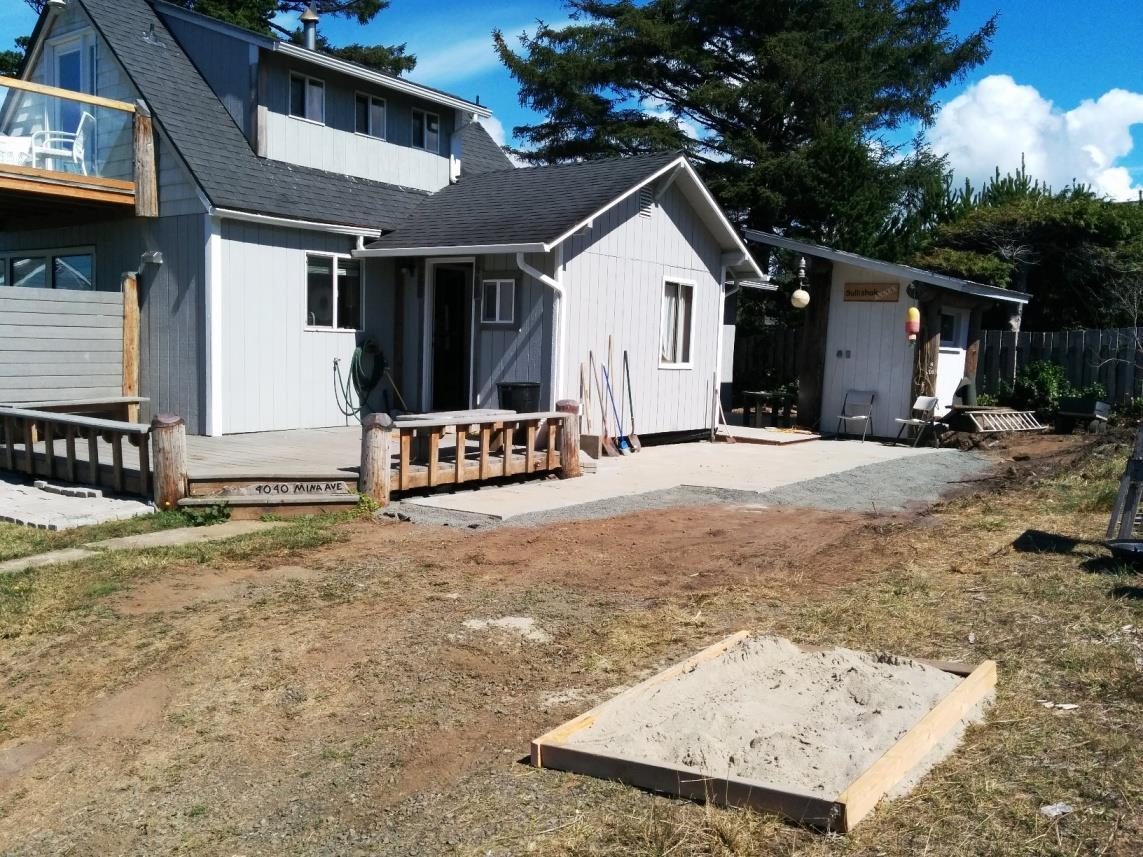
Gary Anderson applied the drywall mud and tape to the new addition.Dave Sullivan finally finishes the “Sullishak Annex” – a tool shed.David Helton works on the back deck.The back deck is completed, but it seems incomplete. Time to install a counter for the propane grill.The almost completely installed grill gets its first assignment: a pair of pork chops.Everything is almost ready for the reception for Molly and Devin Sullivan’s September 2015 wedding. Instead of cooking the salmon on the beach, we’ve carried sand up and built a fire pit in the vacant lot next to Sullishak.